I've been building some "rock" monoliths for my desert table. Here's a bit of how I did it. I wasn't very consistent with documenting the process but I think you'll get the idea. If you have questions about how I did it, leave a comment and I'll try to answer.
 |
I began with some beaded styrofoam insulation boards.
These are about an inch thick. |
 |
I broke out my old Woodland Scenics foam cutter.
This is one of the handiest terrain building tools I have. |
 |
I also needed my hot glue gun.
I couldn't find my low temp one but the high temp works fine.
Only problem with it is the foam will melt because the glue is too hot.
It isn't an issue on this project because all the glued surfaces are hidden. |
I neglected to take pics along the way. But what I did was cut out random shapes of foam and then glue them together to form larger blocks. These blocks I then carved into suitable shapes. I experimented and found some techniques that produced the look I wanted: sandstone monoliths with wind erosion. After I carved each monolith, I glued them to CDs for bases. This is what I ended up with...
 |
Basic monolith.
You can see I've coated the bases with Liquitex Course Texture Gel.
I describe this product in an earlier post. |
 |
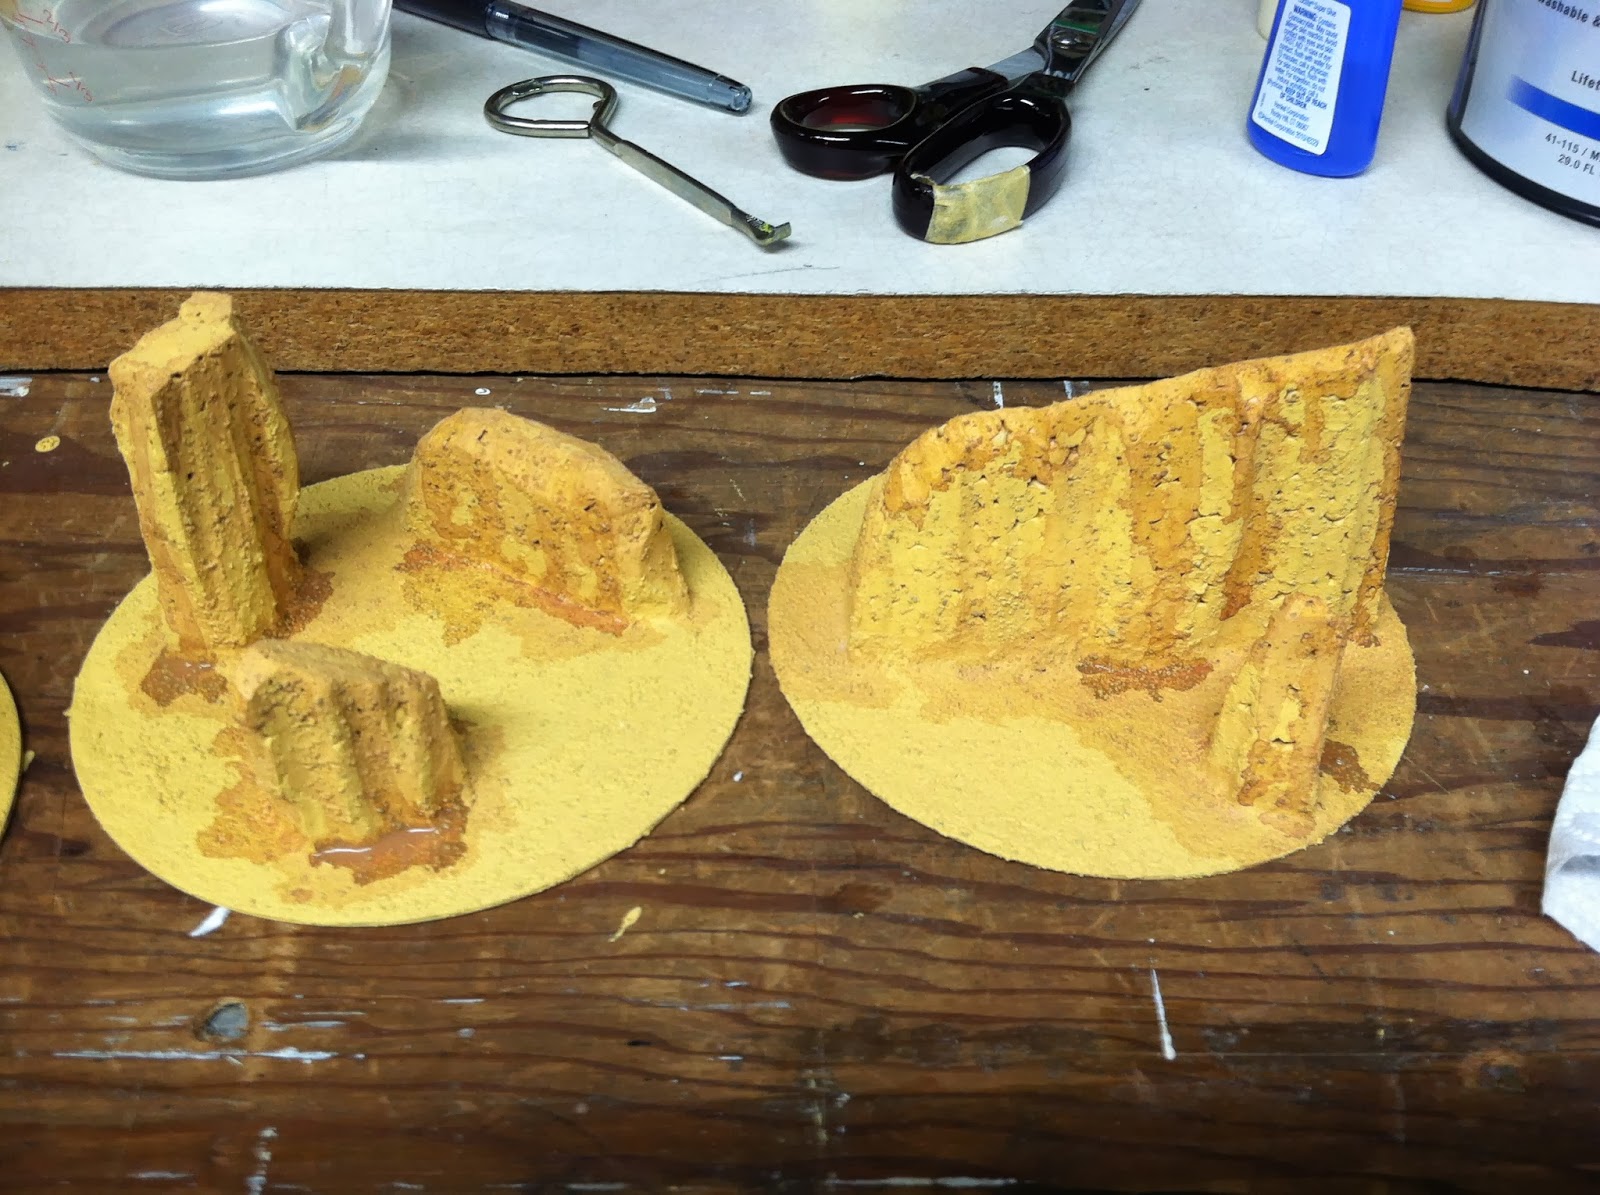
| Next I painted them all with the "Desert Yellow" texture paint I mixed for the terrain table. |
Following are some closeups prior to final painting. I made six of these pieces, which should provide some good terrain coverage for my 3'x3' table. I'm also going to make some areas of rough ground, which I will write up in another post.
 |
| Two larger monoliths. |
 |
| Two groups of smaller monoliths. |
 |
Two shapes that are more interesting.
The arch was an experiment. It's probably a little big for 15mm.
The one on the left is designed to allow units to get up on the level space. |
 |
| After the texture paint I used some light brown craft paint to make a wash and "weathered" the rocks. I didn't cover the whole model with wash. I just drizzled it on and let it drip down to make streaked stains. |
Again, I neglected to take photos, but after the "weathering" I went back over everything with a heavy dry-brush of the base color. This helped to blend the dripped wash, making it less stark. Then I mixed in some Ivory colored craft paint and highlighted the whole model. I built up layers of highlight until the final highlight was pure Ivory craft paint.
 |
| Large monolith base coated, weathered and dry brushed with highlights. |
After that all dried I used some white glue to add the same kinds of scenic material to the bases that I used on the table. I used Woodland Scenics course dry grass to add some small scrubby plant material near the base of the stones.
 |
| Here they are lined up on the table! |
Some close ups of the models in pairs...
I'm very pleased with them. I'm looking forward to getting a battle going! I've got a couple more terrain projects to finish and I need to paint my minis, but I'm making good progress. Most importantly, I'm still having a blast!
That's it for now. Until next time, carry on!


.jpg)
0 Yorumlar